Getting data in the database and backups

plan

  • demo on dumping a database (pgadmin, CLI)
  • demo on restoring a database (pgadmin, CLI)

Then you will import the titanic dataset

  • download the csv data file on your local
  • create the database and the table
  • import the data
  • restore the database in that file either using pgadmin or CLI

in short

You cna use pgadmin or CLI to backup and restore your data

  • you can either backup your data as a compressed dump file
  • or you can dump the data as a SQL file

dump file

  • you use pg_dump, pg_restore
pg_dump -U alexis -h localhost -p 5432 -f <path>/treesdb_backup.pg_dump postgres

pg_restore -U alexis -h localhost -p 5432 -d treesdb_backup <path>/treesdb_backup.pg_dump

SQL file

You execute the sql file with psql on a given database

Demo : data backup

On my local, I have many databases
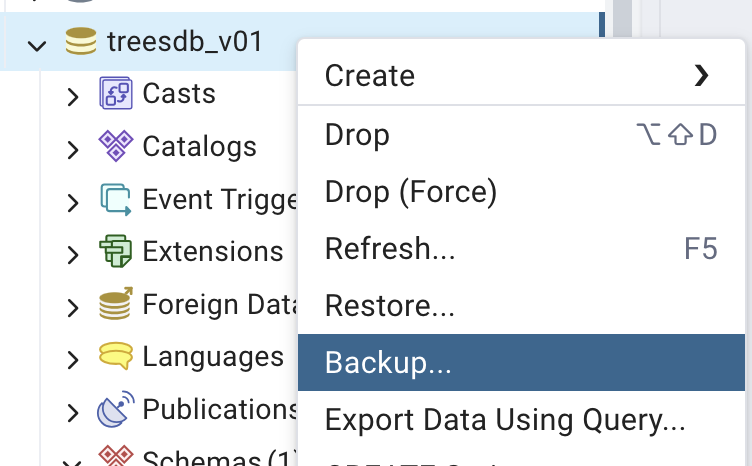
pgAdmin

pgAdmin list databases

CLI : \l

pgAdmin list databases

Let’s back up one of these, for instance the treesdb_v01 database

pgAdmin backup database

  • Let’s name the backup file treesdb_backup.pg_dump
  • Add a compression ratio from 1 to 9 (max) if you want to also compress your database. Then you should add .gz to the filename treesdb_backup.pg_dump.gz to indicate it is a commpressed file.
  • select UTF-8 for encoding.
  • for format : select plain (missing from the screenshot)

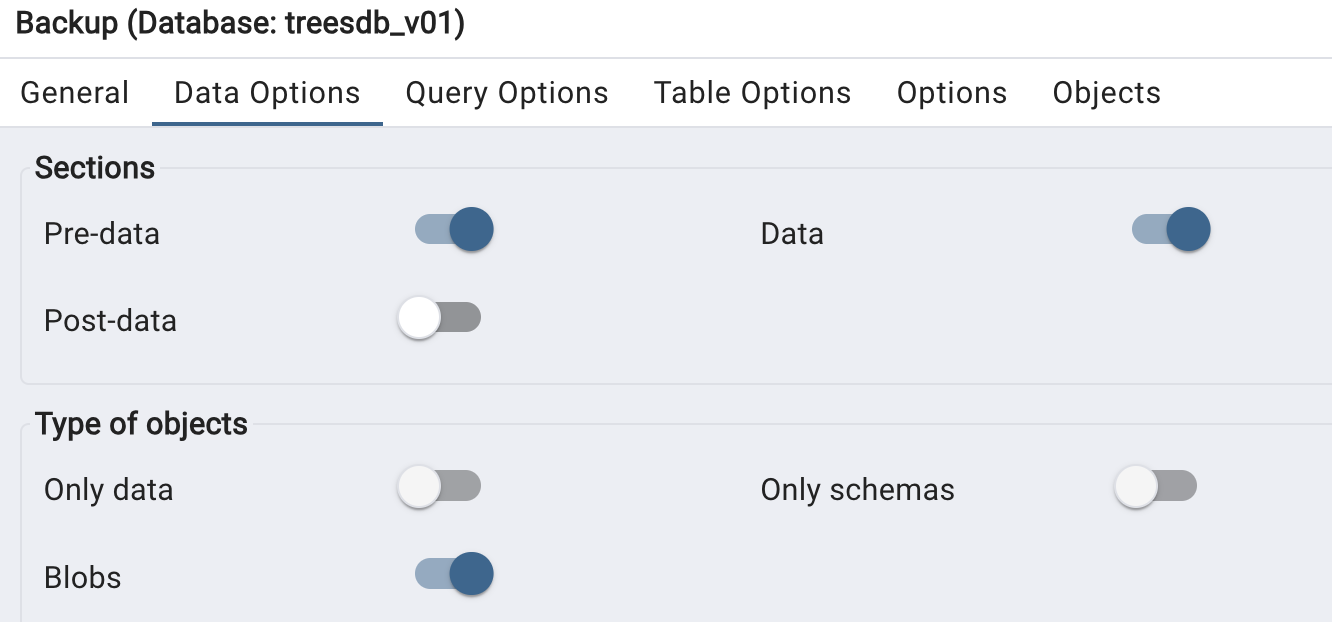
in the data options tab, select

  • pre data: includes the creation of the database and the user
  • data: includes the data
  • blobs: includes all the data

pgAdmin backup database

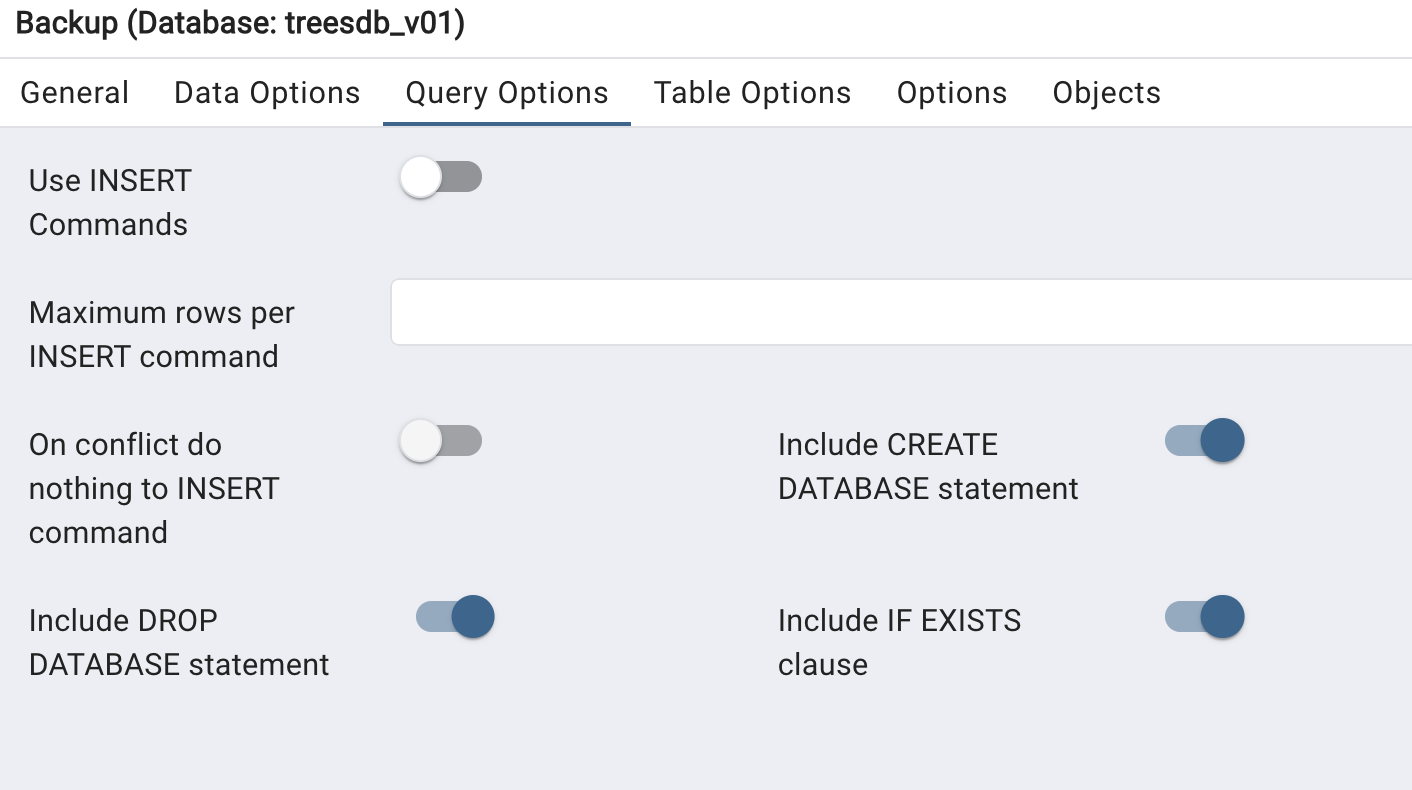
in the “Query Options section”, select

  • include Create database
  • include DROP database
  • include IF EXISTS

pgAdmin backup database

Nothing to do for the other tabs

and click Backup

Process

pgAdmin backup database

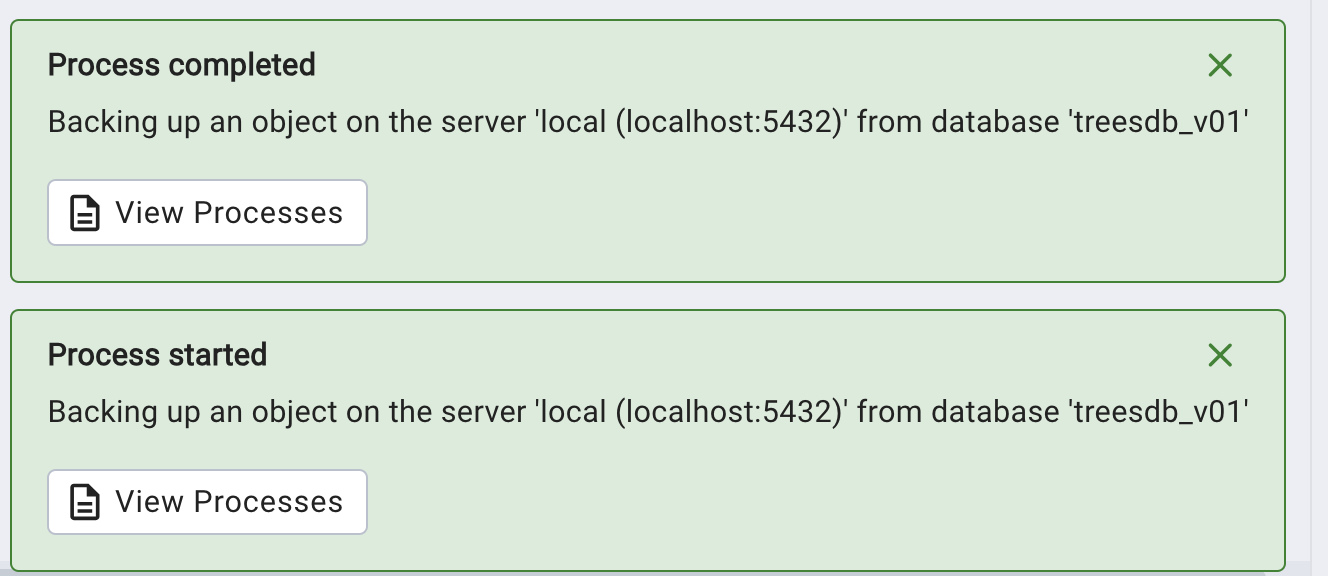
if we click on the process we see the CLI equivalent
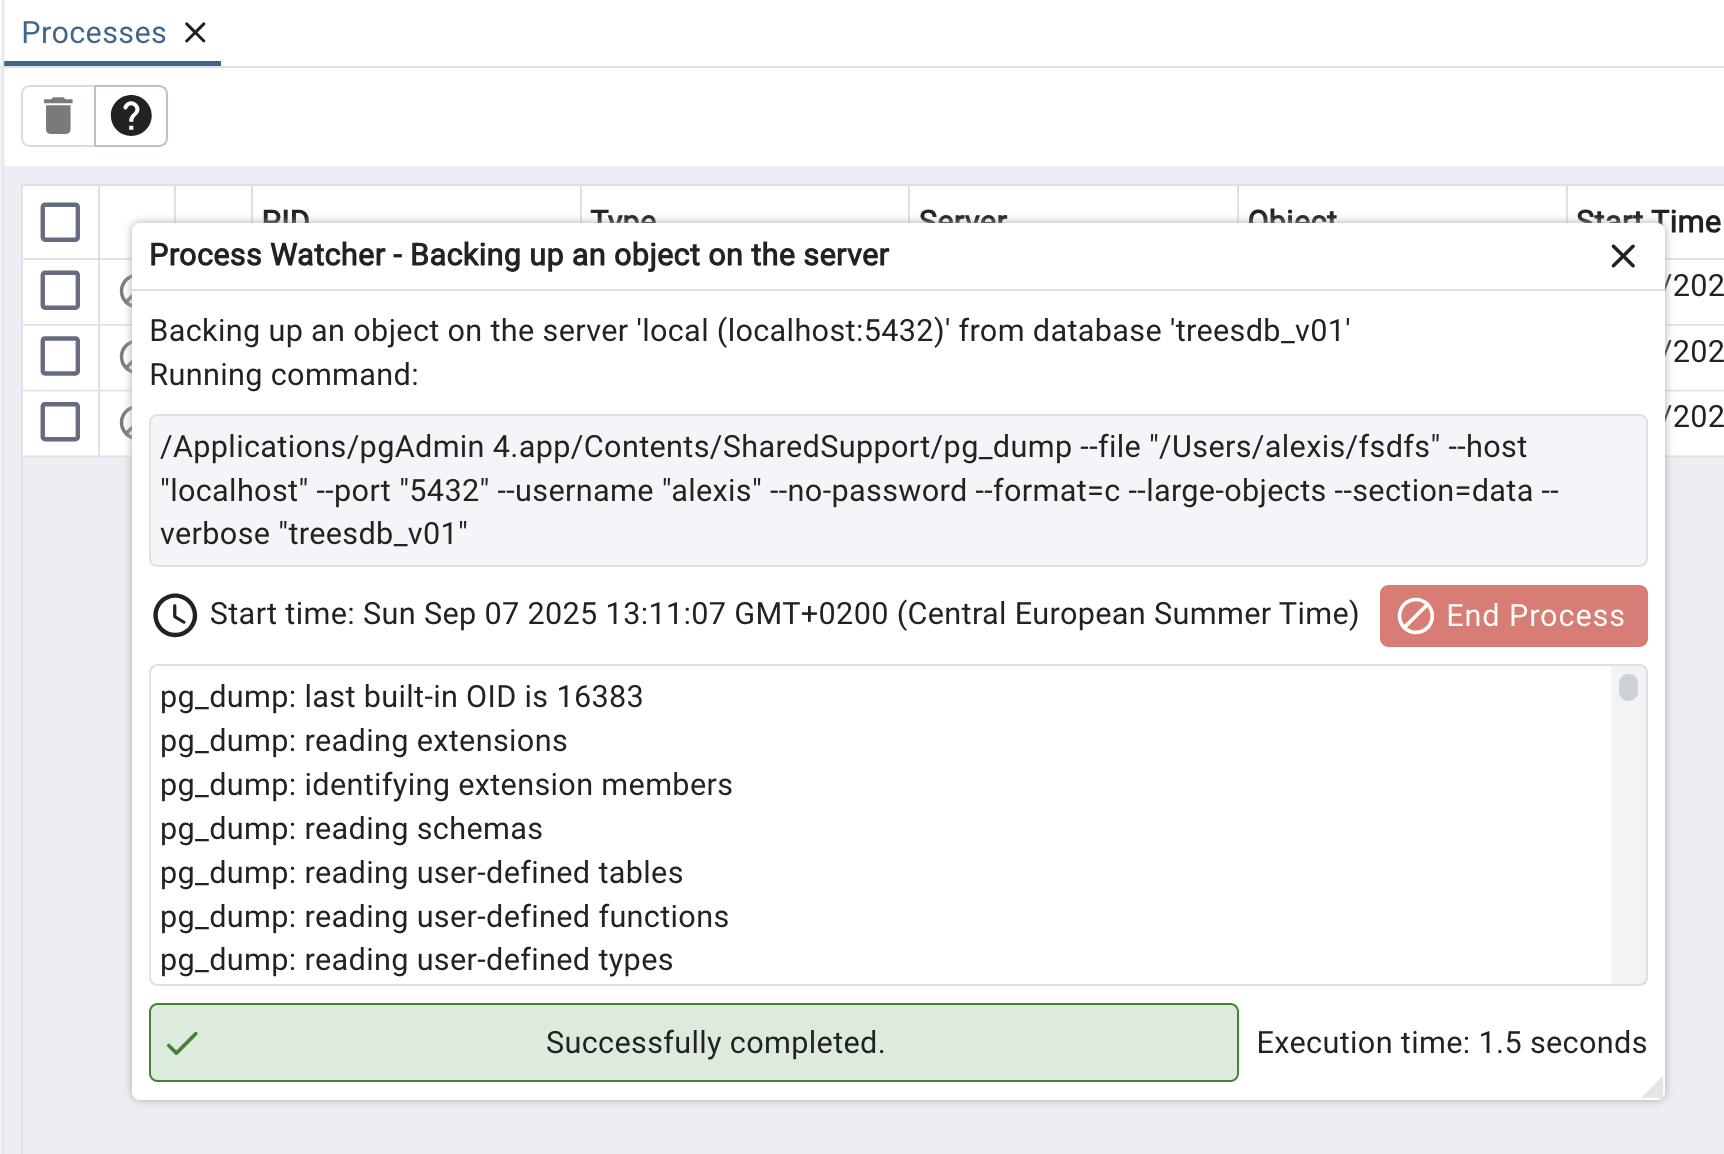
pgAdmin backup database

/<path>/pg_dump
--file "/Users/alexis/treesdb_backup.pg_dump"
--host "localhost" --port "5432" --username "alexis" --no-password
--format=p
--large-objects
--encoding "UTF8"
--section=pre-data
--section=data
--create
--clean
--if-exists
--verbose "treesdb_v01"

We can find all the settings that we selected in pgAdmin

I can copy paste that command into my terminal and it will / should work

Now let’s … restore

Download the dataset

And restore it

Since the dump file is in plain text, it is just SQL statements that we can execute with psql.

psql -U alexis -h localhost -p 5432 -f <path>/treesdb_backup.pg_dump postgres

The -f simply says execute the file treesdb_backup.pg_dump.

Note

If I had used format=c (compressed) then to restore it I would have used pg_restore

pg_restore -U alexis -h localhost -p 5432 -d treesdb_backup <path>/treesdb_backup.pg_dump

✅ run a sql file In pgAdmin

First rename your file from treesdb_backup.pg_dump to treesdb_backup.pg_dump.sql

pgAdmin won’t open the file when it does not have the .sql extension

Then to run a dump file or any SQL file:

  • Select a database (postgres is fine)
  • Open the Query Tool on your server/DB.
  • Go to the File icon / Open and select your treesdb_backup.pg_dump.sql file.
  • The contents load into the Query Editor.
  • Press the Execute (▶) button to run it.

This will execute the SQL statements in your dump (including CREATE DATABASE if you included it).

pgAdmin restore database

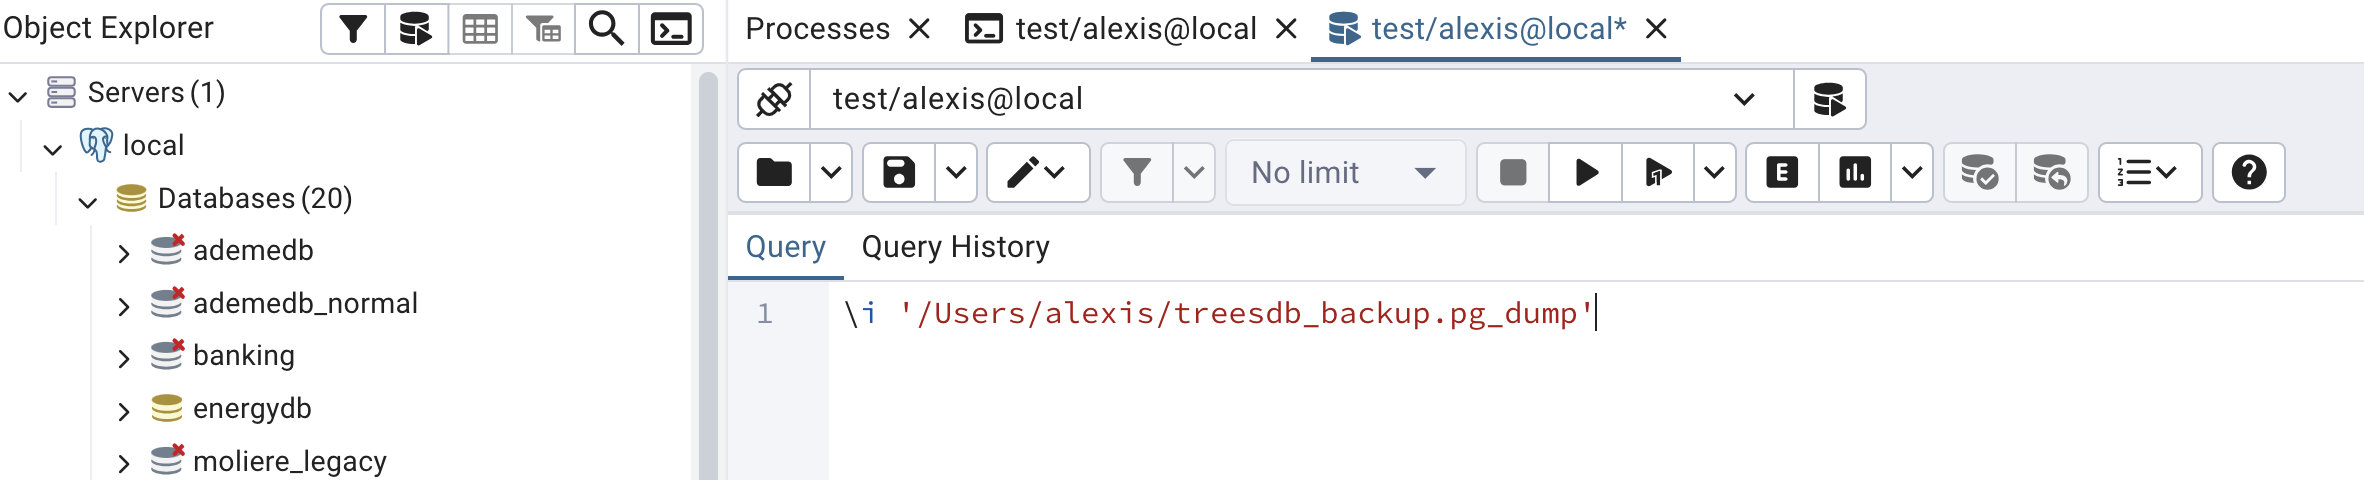
At this point you can simply use the PSQL tool in pgAdmin and run the above command

pgAdmin PSQL database

from now on, I will only use PSQL

The titanic dataset is a classic dataset used in machine learning competitions

titanic

A list of the 891 passengers with their survival status, age, sex, class, fare, etc.

The kaggle competition is to predict the survival of the passengers based on their features.

Here we will just load the dataset into a database and review some basic SQL queries.

The goal of the exercise is to be able to import any csv dataset into a database.

Titanic CSV fields are:

  • PassengerId – integer, unique
  • Survived – integer (0 = No, 1 = Yes)
  • Pclass – passenger class (1, 2, 3)
  • Name – passenger name
  • Sex – male/female
  • Age – float (because of decimals, and some NULLs)
  • SibSp – number of siblings/spouses aboard
  • Parch – number of parents/children aboard
  • Ticket – ticket number
  • Fare – float
  • Cabin – cabin string, often NULL
  • Embarked – port of embarkation (C, Q, S)

Steps

In order to import a csv file into a database

we will

  • create the database
  • create a simple table
  • import the csv file into the table

Server vs Database vs Tables

  • Postgresql runs on a server
  • you connect to a database
  • a database is a collection of tables

database creation

CREATE DATABASE titanicdb;

in pgAdmin, right click on Databases (n) and select Create Database

  • add a name
  • check out the SQL tab.

It will show the SQL command that will be executed

CREATE DATABASE titanicdb
    WITH
    OWNER = alexis
    ENCODING = 'UTF8'
    LOCALE_PROVIDER = 'libc'
    CONNECTION LIMIT = -1
    IS_TEMPLATE = False;

Note: it’s always good practice to name the database with a db postfix or prefix.

once the titanicdb has been created connect to it with

\c titanicdb

CLI

you can use the createdb command to create a database from the command line

createdb titanicdb

Create the table

CREATE TABLE titanic (
    passenger_id SERIAL PRIMARY KEY,
    survived     BOOLEAN,
    pclass       SMALLINT ,
    name         TEXT NOT NULL,
    sex          VARCHAR(10),
    age          REAL,
    sibsp        SMALLINT,
    parch        SMALLINT,
    ticket       TEXT,
    fare         NUMERIC(8,2),
    cabin        TEXT,
    embarked     CHAR(1)
);

where

  • SERIAL is an auto-incrementing integer
  • BOOLEAN is a boolean
  • SMALLINT is a small integer
  • TEXT is a text
  • VARCHAR is a variable length string
  • REAL is a real number
  • NUMERIC is a numeric number
  • CHAR is a character string

This is very precise. we could have used text for all strings and int / real for numbers

Note: there are no constraints on the table.

check

\d lists all the assets (tables, views, functions, etc.) in the current database

we have

localhost alexis@titanicdb=# \d
                   List of relations
 Schema |           Name           |   Type   | Owner
--------+--------------------------+----------+--------
 public | titanic                  | table    | alexis
 public | titanic_passenger_id_seq | sequence | alexis

sequence ?

Let’s check out the sequence

pgAdmin sequence

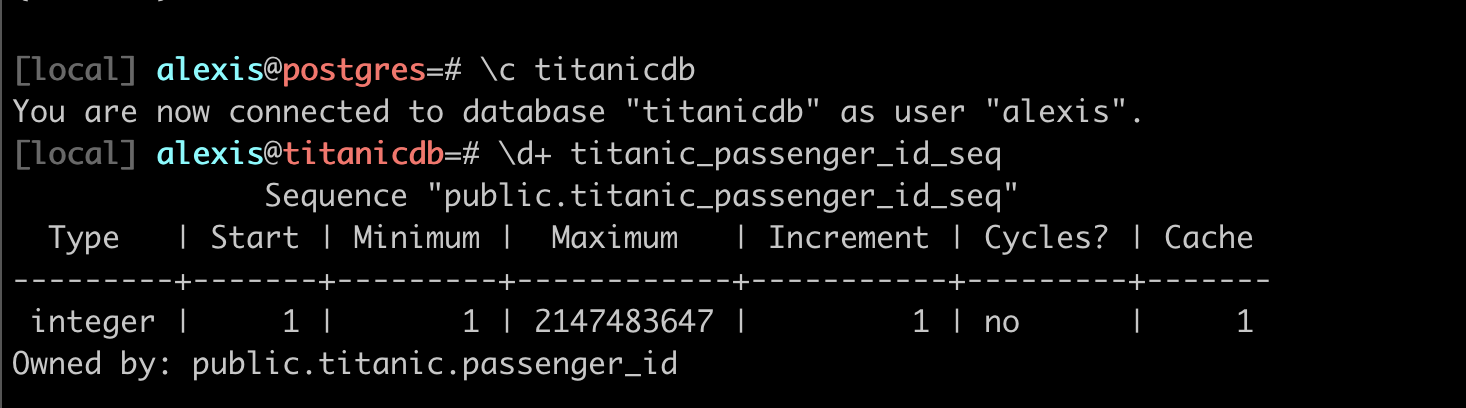
shows the behavior of the passenger_id serial number: from 1, increment 1, etc

Table

able

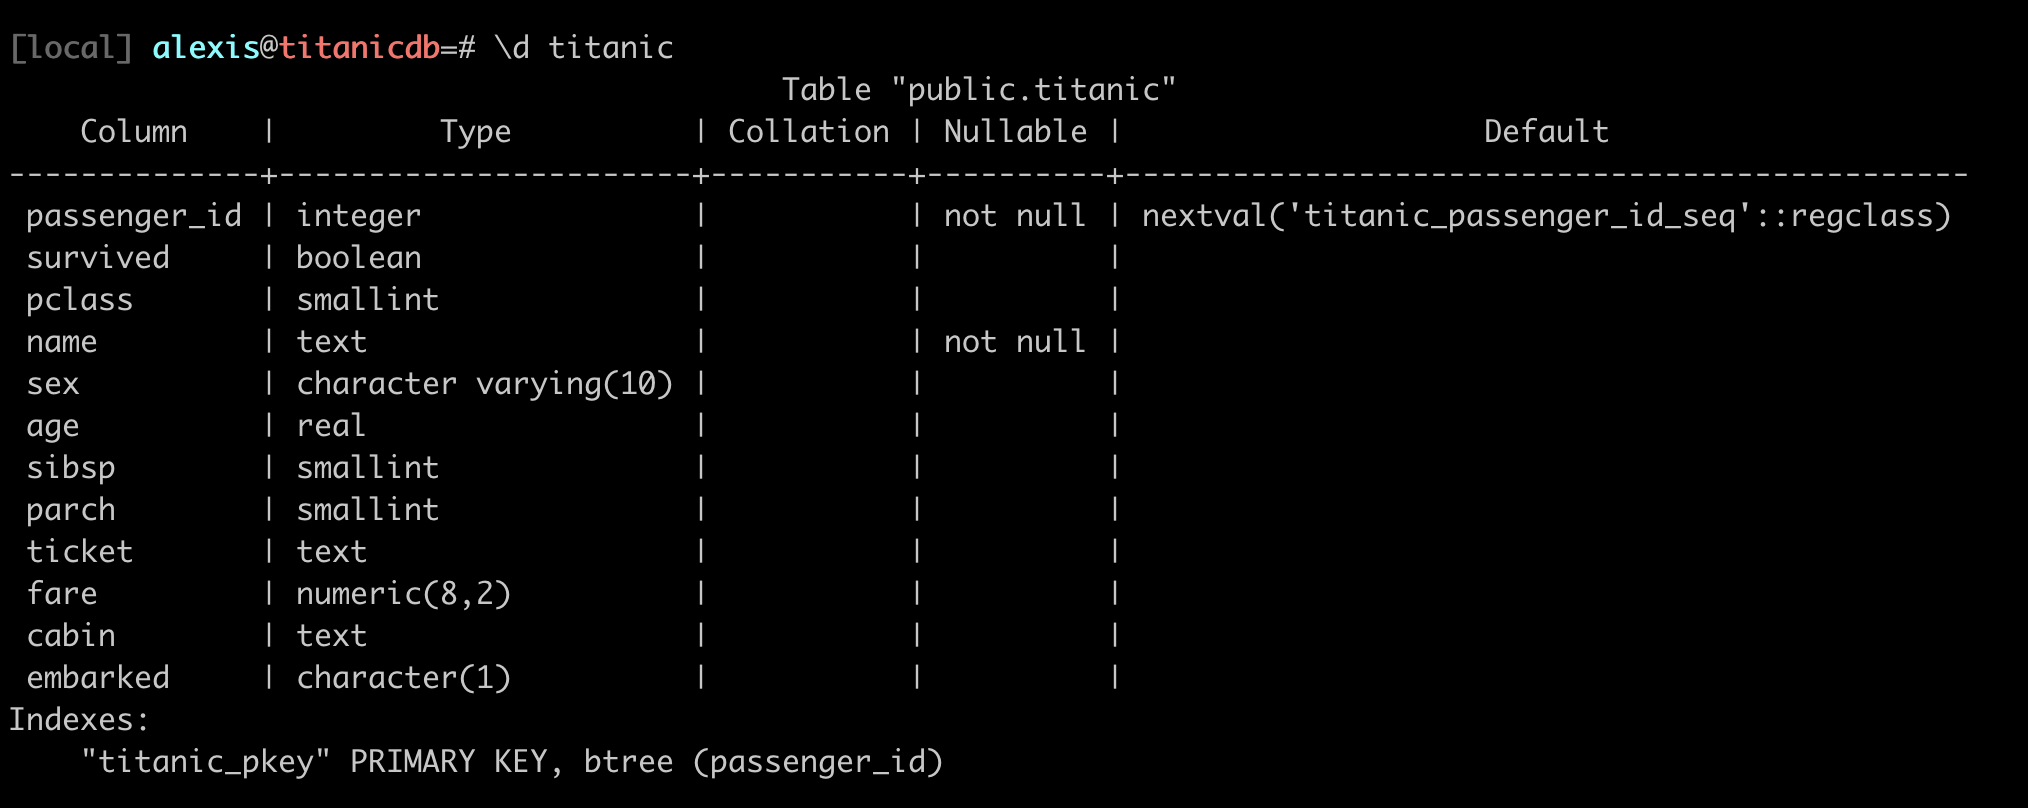
Notice in the last column.

 nextval('titanic_passenger_id_seq'::regclass)

We can actually select the next value of the sequence

SELECT nextval('titanic_passenger_id_seq'::regclass);

Since our table is empty, this will return 1, then 2 etc

Import the csv data

Now to import the csv file into the table

COPY titanic FROM '/path/to/titanic.csv' DELIMITER ',' CSV HEADER;

or

\copy titanic FROM '/path/to/titanic.csv' DELIMITER ',' CSV HEADER;

There may be permission issues with the 1st COPY clause.

Note: you must use the absolute path to the file

if everything goes well you should have

COPY 891

and to verify this query should also return 891

SELECT COUNT(*) FROM titanic;

The CSV Import Challenge

Common Problems You’ll Face::

  • 🔤 Character encoding (é, à, ñ, 中文)
  • ❌ Missing values (empty cells, NULL, N/A)
  • 📊 Wrong separators (; instead of ,)
  • 🔢 Type mismatches (“123” as text vs 123 as number)
  • 📅 Date formats (DD/MM/YYYY vs MM/DD/YYYY)

Practice dumping and restoring the data

In pgAdmin or in the terminal

First backup the titanicdb database, without compression

  • play with the options in pgAdmin: pre-data, data, post-data
  • you will get a SQL file
  • open the sql file in an editor and check the content.
  • identify which part is the data and which part is the schema
  • identify which part is the pre-data and which part is the post-data

Then

  • create a new database titanicdb_restored
  • restore the titanicdb database from the backup SQL file

Now dump the titanicdb database, this time with compression

You will get a pg_dump file

  • dump the titanicdb database with compression
  • restore the titanicdb_compressed database from the dump file

To finish, let’s practice some basic queries.

practice-queries-titanic

1 / 25
Use ← → arrow keys or Space to navigate